What's in the box
A typical big-box kit contains a water-based or low-solids epoxy, a bag of decorative chips for partial broadcast, an acid etch packet, and a roller. Cost is $150–$600 for a two-car garage depending on the brand.
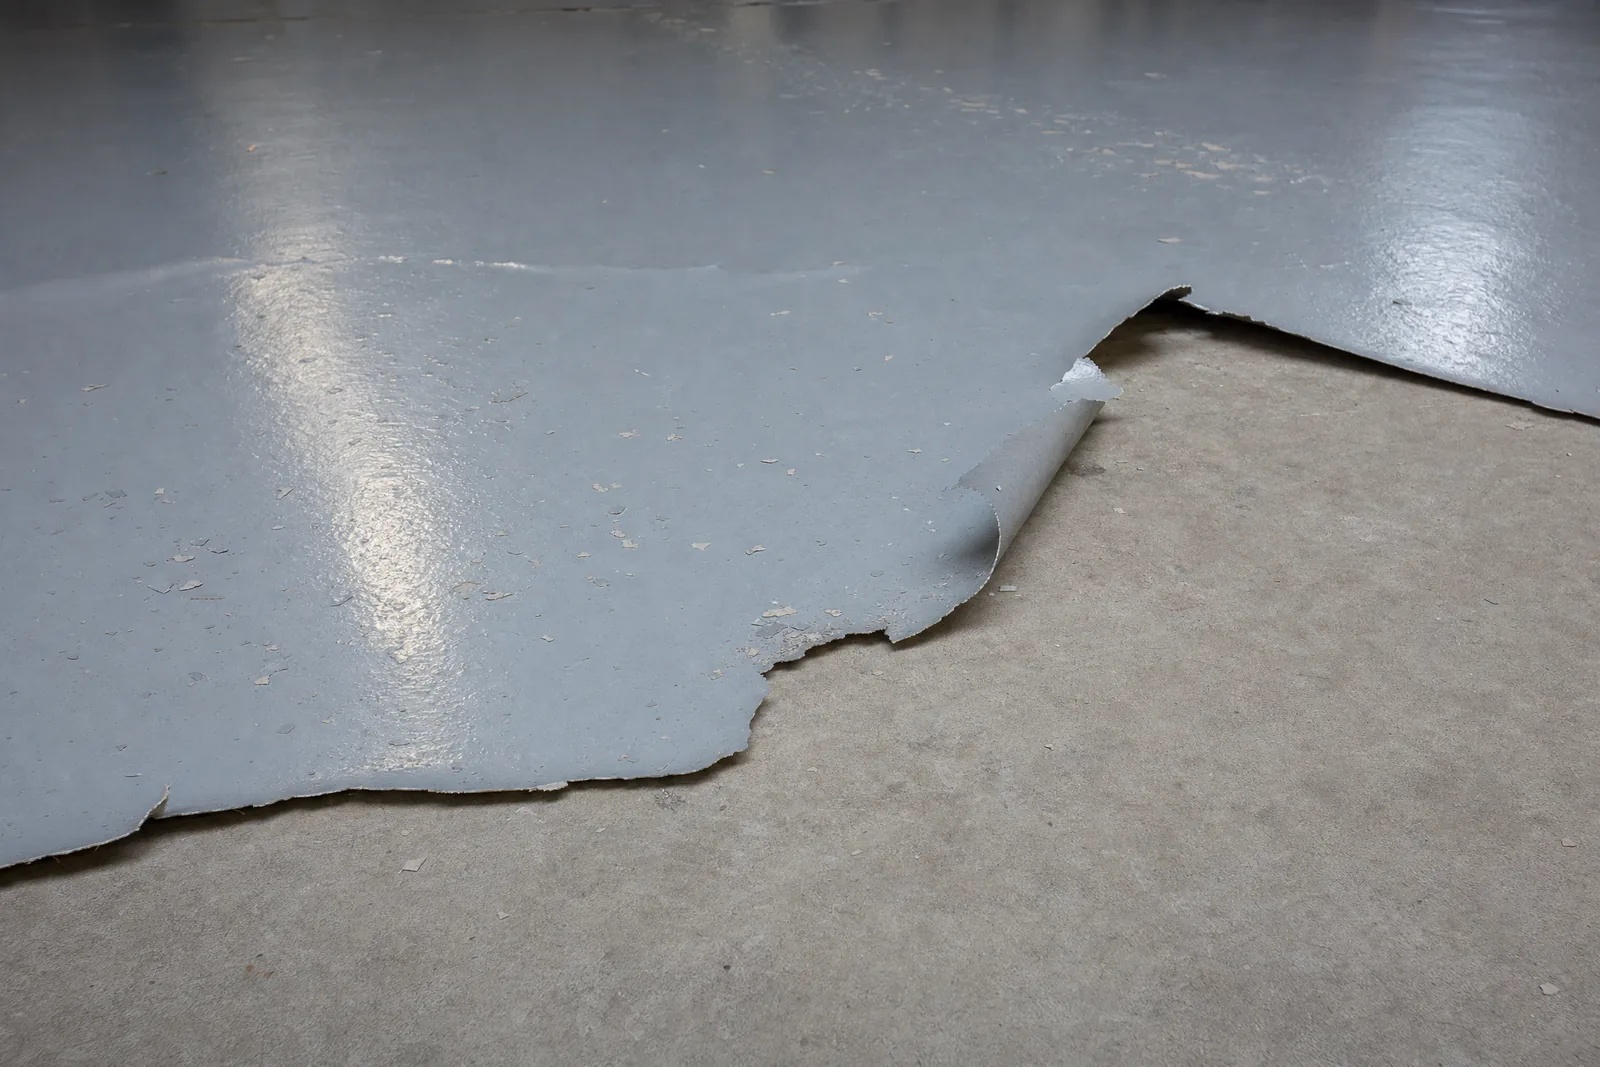
Where they fail
- Etching instead of grinding. The kit has to ship in a box, so it can't include the one thing that determines adhesion. Etching produces marginal profile and leaves residue.
- Film thickness. Kit products are often 2–4 mils dry. A professional build is 15–40 mils. That gap is most of the abrasion life.
- No moisture testing. Not mentioned in the instructions, which is a significant omission.
- Partial broadcast. The chip bag is sized for scattered coverage, not full refusal.
- Epoxy topcoat. Ambers under UV. In Reno that shows near the door within a couple of summers.
When DIY genuinely makes sense
We'd rather say this plainly than pretend otherwise:
- Short holding period. Selling within two or three years and you want the garage to present well — a kit does that job for a few hundred dollars.
- A space that doesn't matter much. A storage shed, a detached garage that never sees a car.
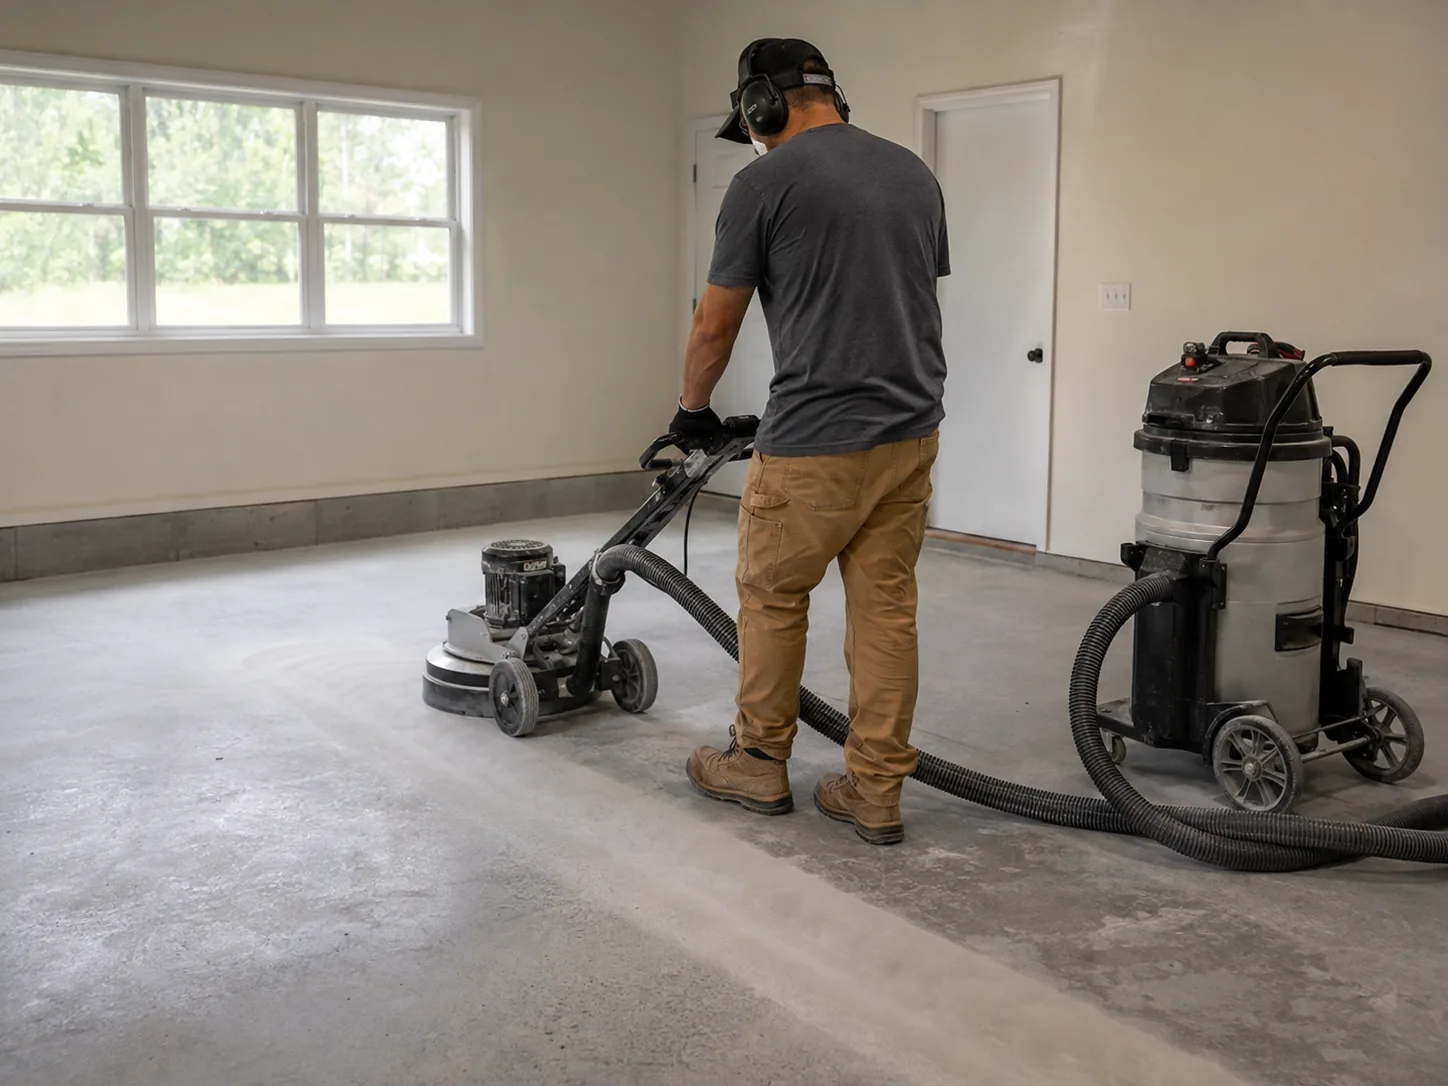
- You'll rent a real grinder. If you're prepared to hire a walk-behind grinder with extraction, buy a proper two-part product rather than a kit, and accept that edges are slow, you can get a genuinely decent result. This is the version that works.
- Budget rules it out. A kit floor beats a bare dusting slab. That's a fair trade if the alternative is nothing.
The real math
| Kit | DIY done properly | Professional | |
|---|---|---|---|
| Material | $150–$600 | $500–$1,200 | Included |
| Grinder rental | — | $150–$300/day | Included |
| Your time | 1–2 days | 2–3 days | None |
| Realistic life | 1–4 years | 5–10 years | 15–20 years |
| 2-car total | $150–$600 | $700–$1,500 | $2,400–$4,200 |
The trap is the middle column being invisible when you start. People buy the kit, discover etching isn't enough, and end up paying for removal on top of a professional install. That's the outcome we see most often.
Doing it yourself properly — the actual shopping list
If you are going to do this, do the version that works. Here is what that requires.
| Item | Rough cost | Notes |
|---|---|---|
| Walk-behind grinder rental, 2 days | $300–$500 | Must have dust extraction. Do not dry grind indoors |
| HEPA vacuum rental | $80–$140 | A shop vac is not adequate for silica |
| Hand edge grinder | $60–$120 | You will spend hours with this |
| Diamond tooling | $120–$250 | Often extra on rentals |
| 100% solids epoxy base, 2 gal | $180–$300 | From a coatings supplier, not a big-box kit |
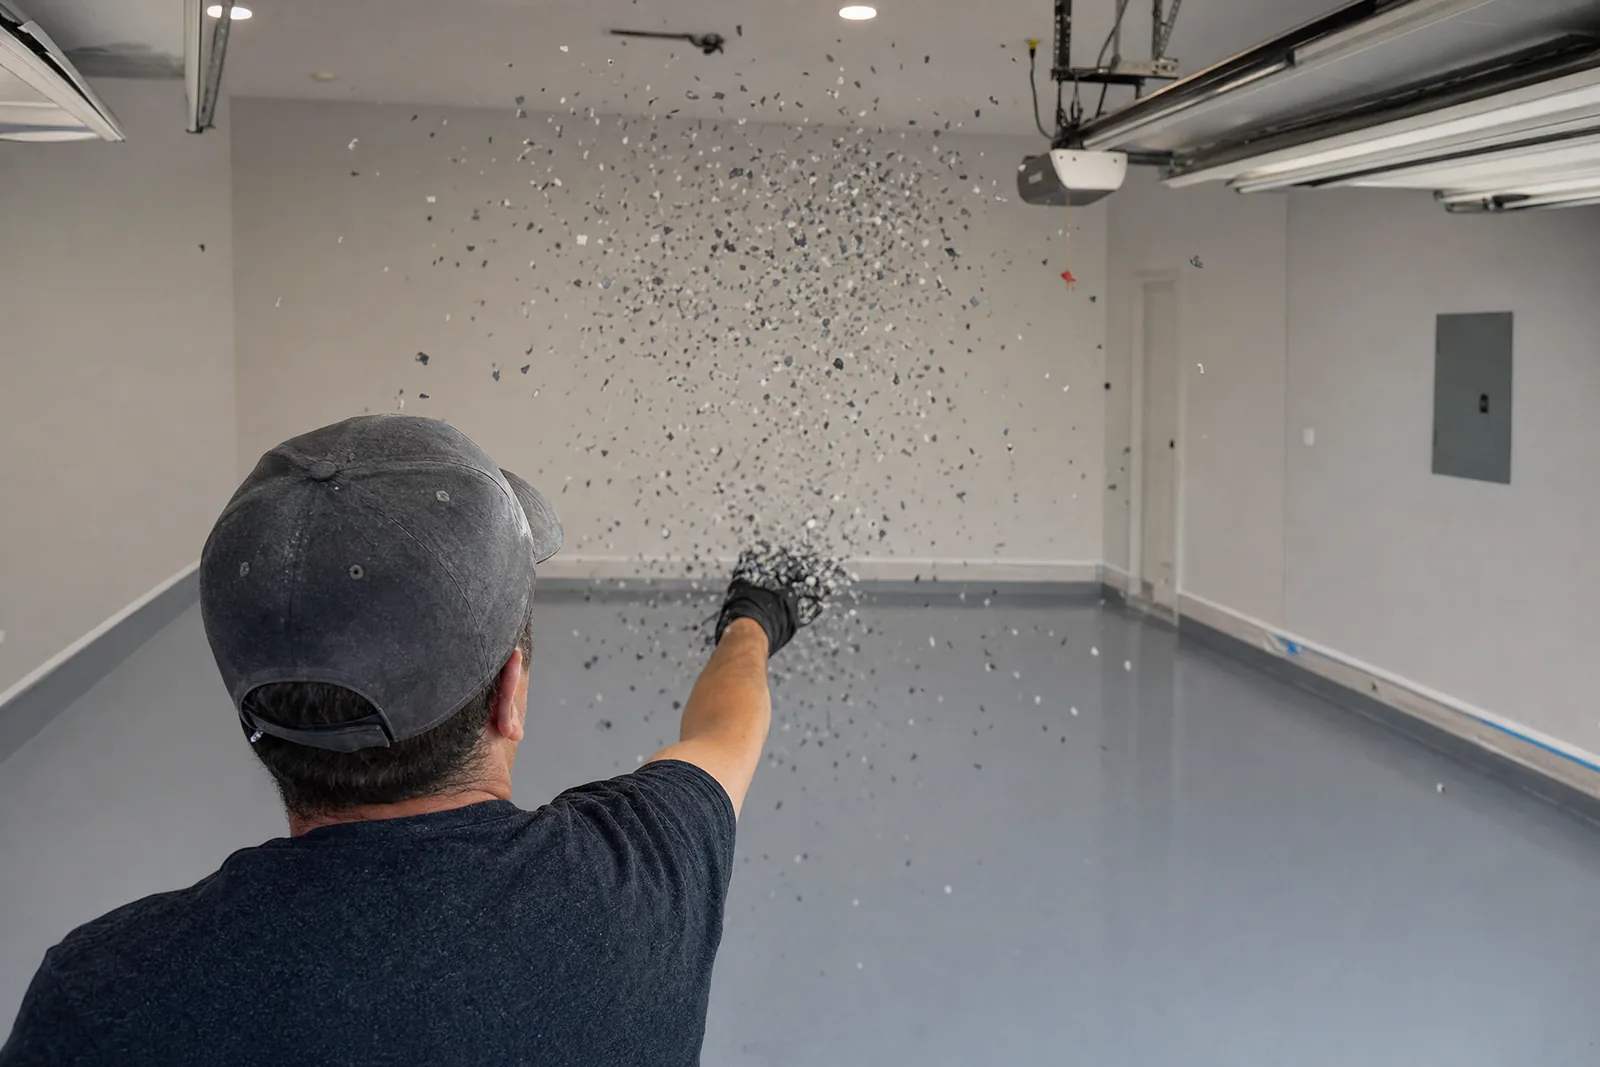
| Vinyl flake, 50 lb | $180–$280 | Buy enough for a full broadcast |
| Polyaspartic topcoat, 2 gal | $300–$480 | Where most kits fall short |
| Crack filler, primer, tools, PPE | $150–$250 | Respirator, not a dust mask |
| Total | $1,370–$2,320 | Plus 2–3 days of your time |
Done this way you can genuinely get a floor that lasts seven to ten years. It is not close to a kit, and it is not far off a professional job in outcome. What you are buying from us at that point is speed, the warranty, and not spending a weekend on your knees grinding edges.
The three things that most often go wrong
Running out of working time
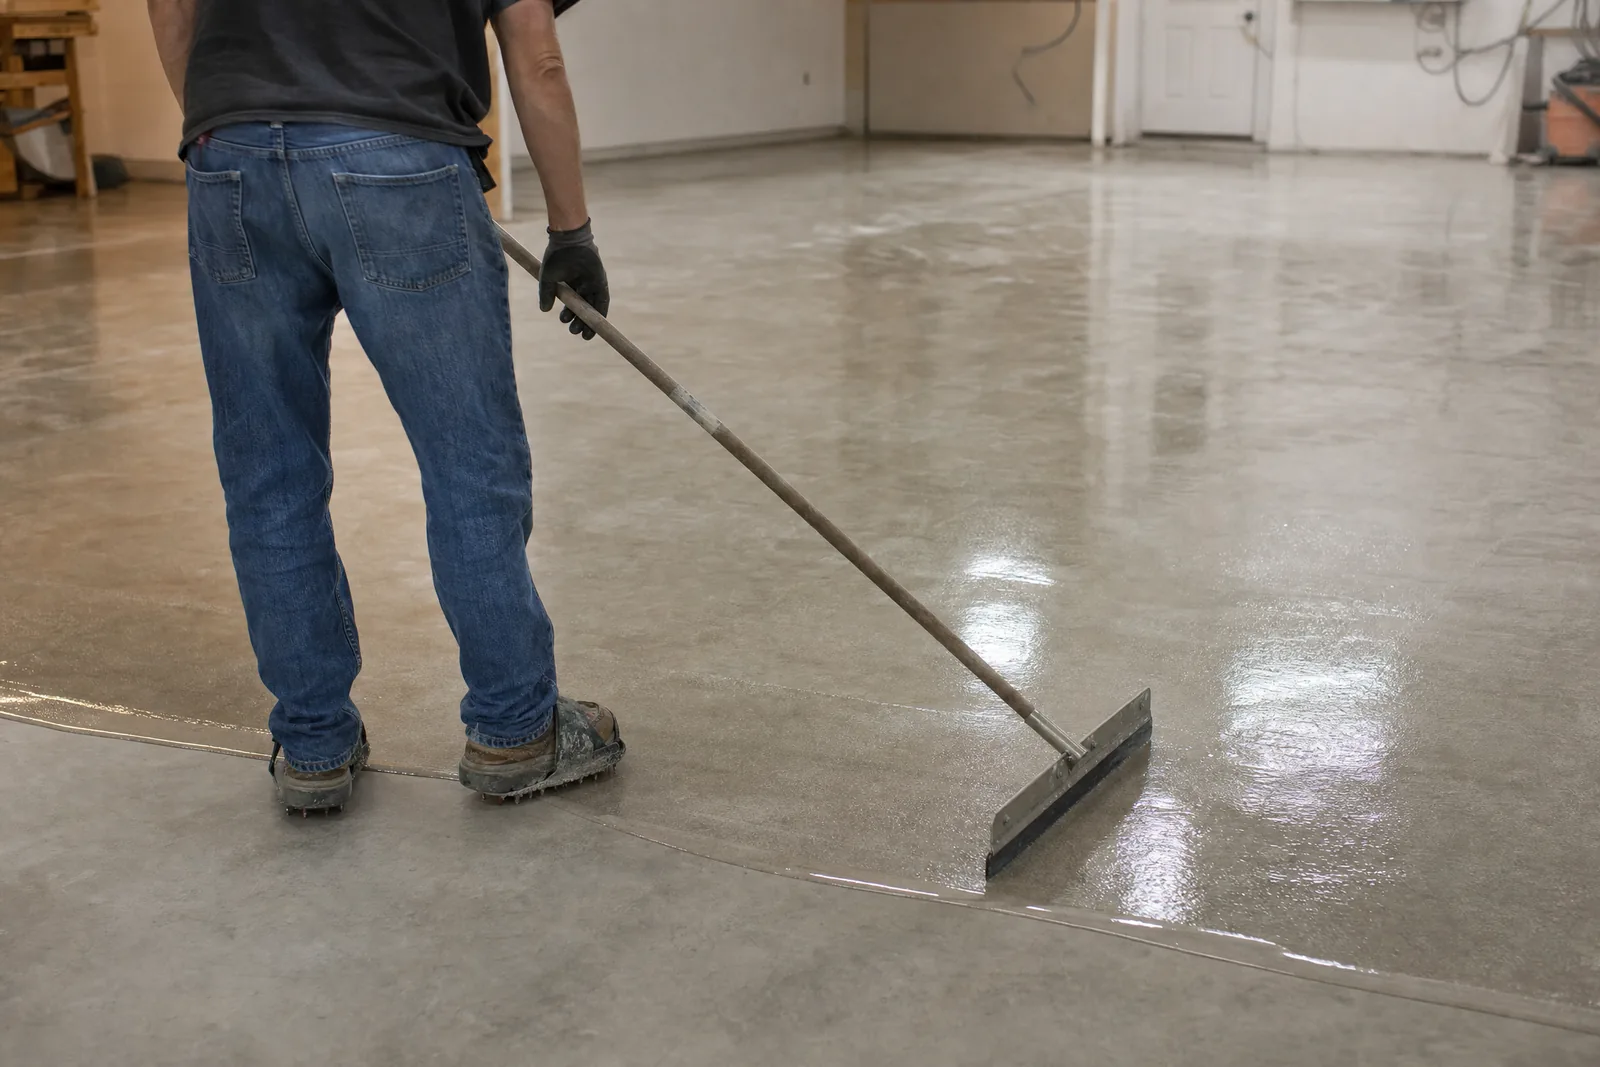
Polyaspartic pot life in a warm garage can be under fifteen minutes. First-timers mix a full batch, and half of it kicks in the bucket. Mix small, work in sections.
Edges
Underestimated by everyone. Ninety linear feet of hand grinding on your knees takes as long as the whole open floor.
Broadcasting too late
Flake must go into wet base coat. Wait even a few minutes too long and the chips sit on the surface instead of embedding, and they release later.
Where to buy real material
Not the home centre. Concrete coating suppliers and industrial paint distributors sell the same products contractors use, will sell to the public, and will advise on quantities. Ask specifically for a 100% solids epoxy base and an aliphatic polyaspartic topcoat, and tell them the square footage.
They will also tell you honestly if what you are attempting is unrealistic, because they have no incentive to sell you a product that comes back as a complaint.
The honest cost of getting it wrong
The failure case is not "wasted the kit money." It is that the failed coating now has to be removed before anything else can go down, and removal adds 30–60% to a professional quote.
So the $400 kit that fails turns a $3,000 job into a $4,200 job. That is the arithmetic worth running before you start, and it is why we say the middle path — either do it properly or have it done properly — is where the value sits.
Common questions
Can I rent a grinder and do it properly myself?
Yes, genuinely. Rent a walk-behind with dust extraction, buy a proper two-part 100% solids product from a coatings supplier rather than a big-box kit, get enough flake for a full broadcast, and budget real time for hand-grinding the edges.
The main things that catch people out are edge work and the topcoat's working time. Neither is insurmountable if you've done detailed work before.
If I already put down a kit, what are my options?
Depends on whether it's bonded. If it's holding well everywhere and you just want more durability, we can sometimes abrade it and apply a polyaspartic topcoat over the top.
If any of it is lifting, it all comes off. We'll do an adhesion test at the quote so you get a straight answer rather than an optimistic one.
Ready for a floor that survives a Sierra winter?
Free on-site measure, honest assessment of your slab, and a written quote you can hold us to.