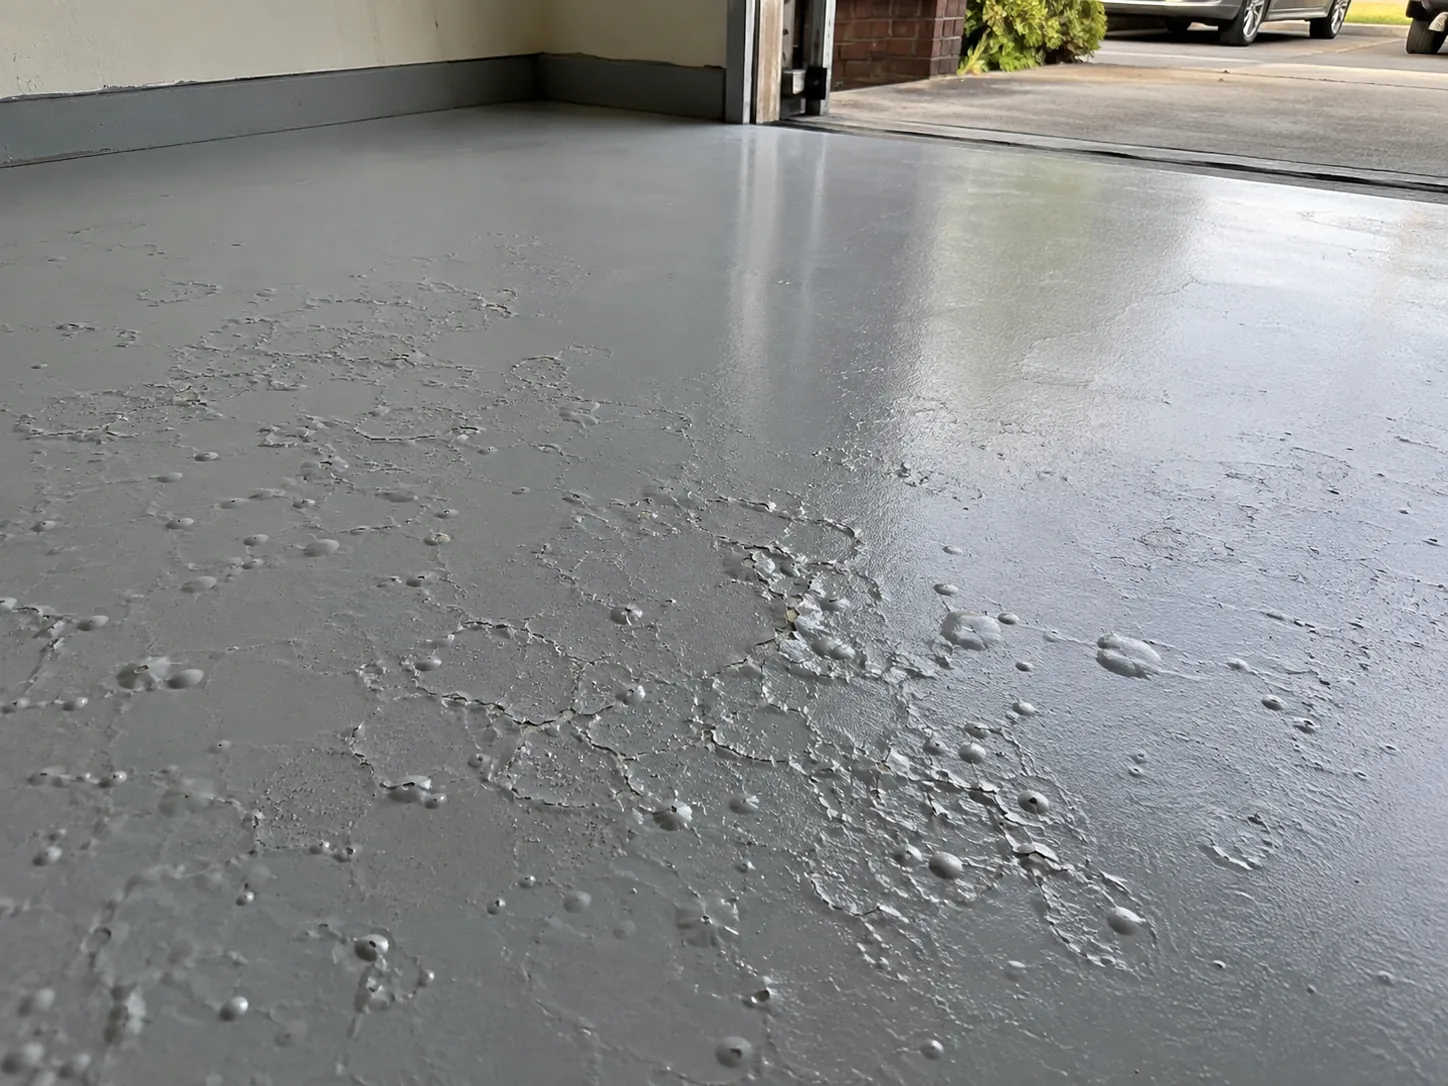
Concrete is porous. Water vapor moves through it continuously, driven from the wetter side toward the drier side. When you seal the top with a coating, that vapor reaches the underside of the film and has nowhere to go. Pressure builds. Eventually it lifts the coating in blisters, or debonds it in sheets.
People assume this is a wet-climate problem. It isn't. What matters is the vapor gradient between the subgrade and the surface, and in Reno that gradient can be steep precisely because the air above the slab is so dry. Irrigation against a garage slab, a missing vapor retarder under the original pour, or a slab poured directly on damp fill all produce measurable emission here.
The three tests
| Test | Standard | What it tells you |
|---|---|---|
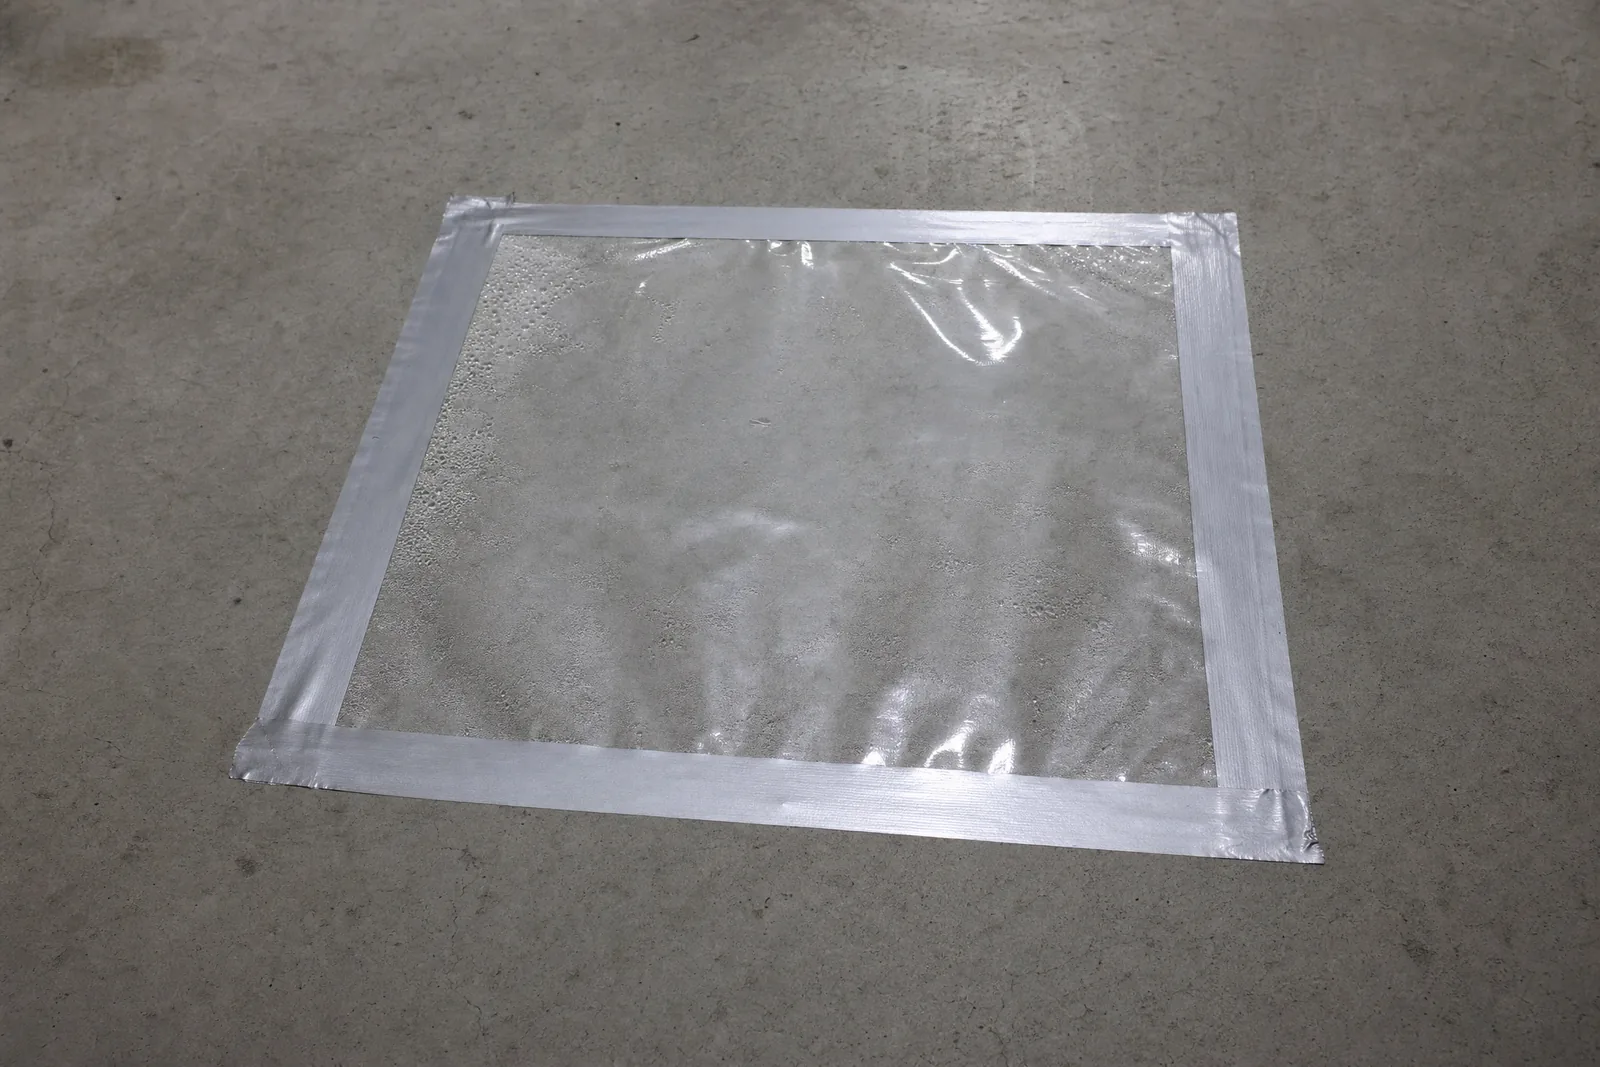
| Plastic sheet | ASTM D4263 | Quick pass/fail indicator. Condensation under a taped sheet means moisture is present. Cheap, fast, not quantitative. |
| Calcium chloride | ASTM F1869 | Measures moisture vapor emission rate in pounds per 1,000 sq ft per 24 hours. Quantitative but only reads the top layer. |
| Relative humidity probe | ASTM F2170 | Probe set into a drilled hole reads RH at 40% slab depth. The most reliable predictor of what the slab will do long term. |
What the numbers mean
Most coating manufacturers set limits around 3 lbs per 1,000 sq ft per 24 hours on a calcium chloride test, or 75–85% RH on a probe test, depending on the product. Above that you need a moisture-mitigating primer — a high-solids epoxy formulated to tolerate and block vapor drive. Well above it and the slab may not be a candidate until the source is dealt with.
A contractor who quotes a floor without testing is transferring the risk to you. If the floor blisters in eighteen months, the warranty conversation will be about whether the slab was suitable — a question nobody can answer after the fact if it was never measured.
Where the moisture in a Reno slab comes from
People find this genuinely surprising, so it is worth naming the actual sources rather than speaking abstractly about vapour drive.
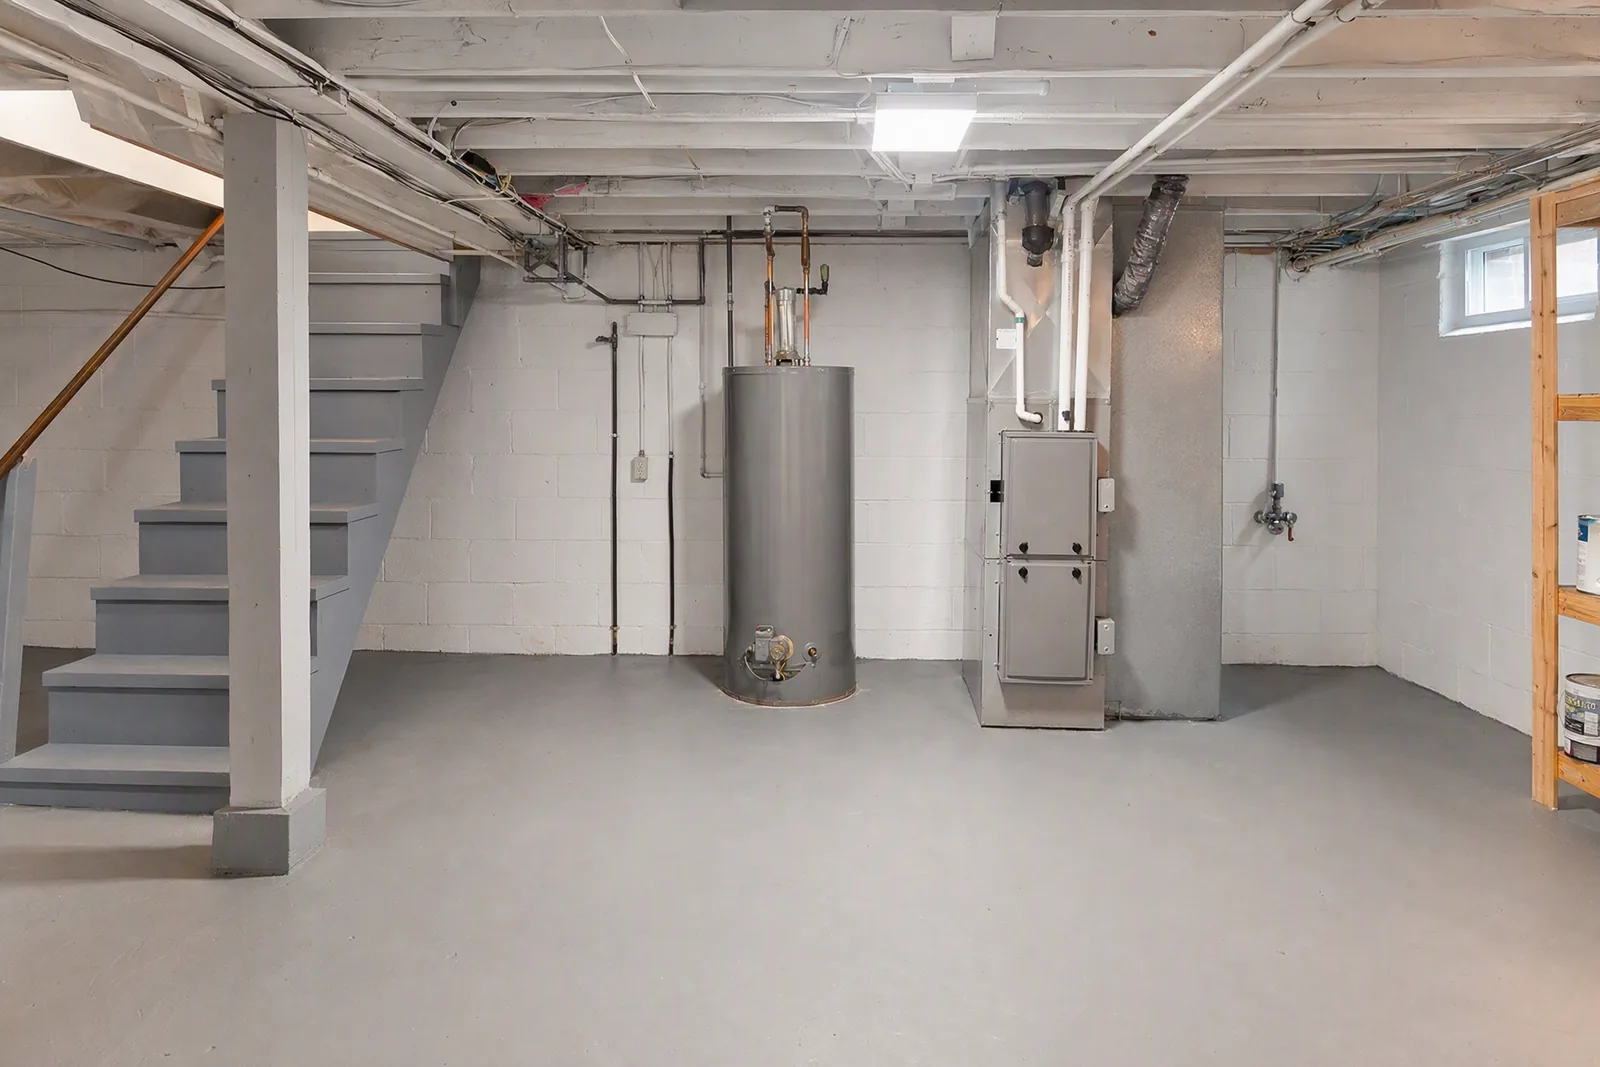
- Spring snowmelt. The single biggest contributor here. Melt moves a large volume of water through the ground over a few weeks, and a slab poured without a vapour retarder sits in it while it passes.
- Snow piled against the foundation. Ploughed or shovelled snow banked against a garage wall melts slowly and directly into the ground at the slab edge.
- Missing or damaged vapour retarder. Current practice puts a polyethylene sheet under the slab. Older construction frequently has none, and even in newer work the sheet gets torn during the pour.
- Residual construction moisture. A slab takes far longer to release its mix water than most people assume — months, not weeks, for full depth.
- Downspouts and grading. Roof water discharged next to the foundation, or grade that slopes toward the house rather than away.
- Plumbing leaks. A slow leak under a slab shows up as a localised wet area long before anyone connects it to a water bill.
Notice that four of the five are about water management around the building rather than climate. That is why moisture is a bigger factor in this market than most contractors here treat it as.
Running the tests properly
Test procedure is specified for a reason, and shortcuts invalidate the result.
| Requirement | Why |
|---|---|
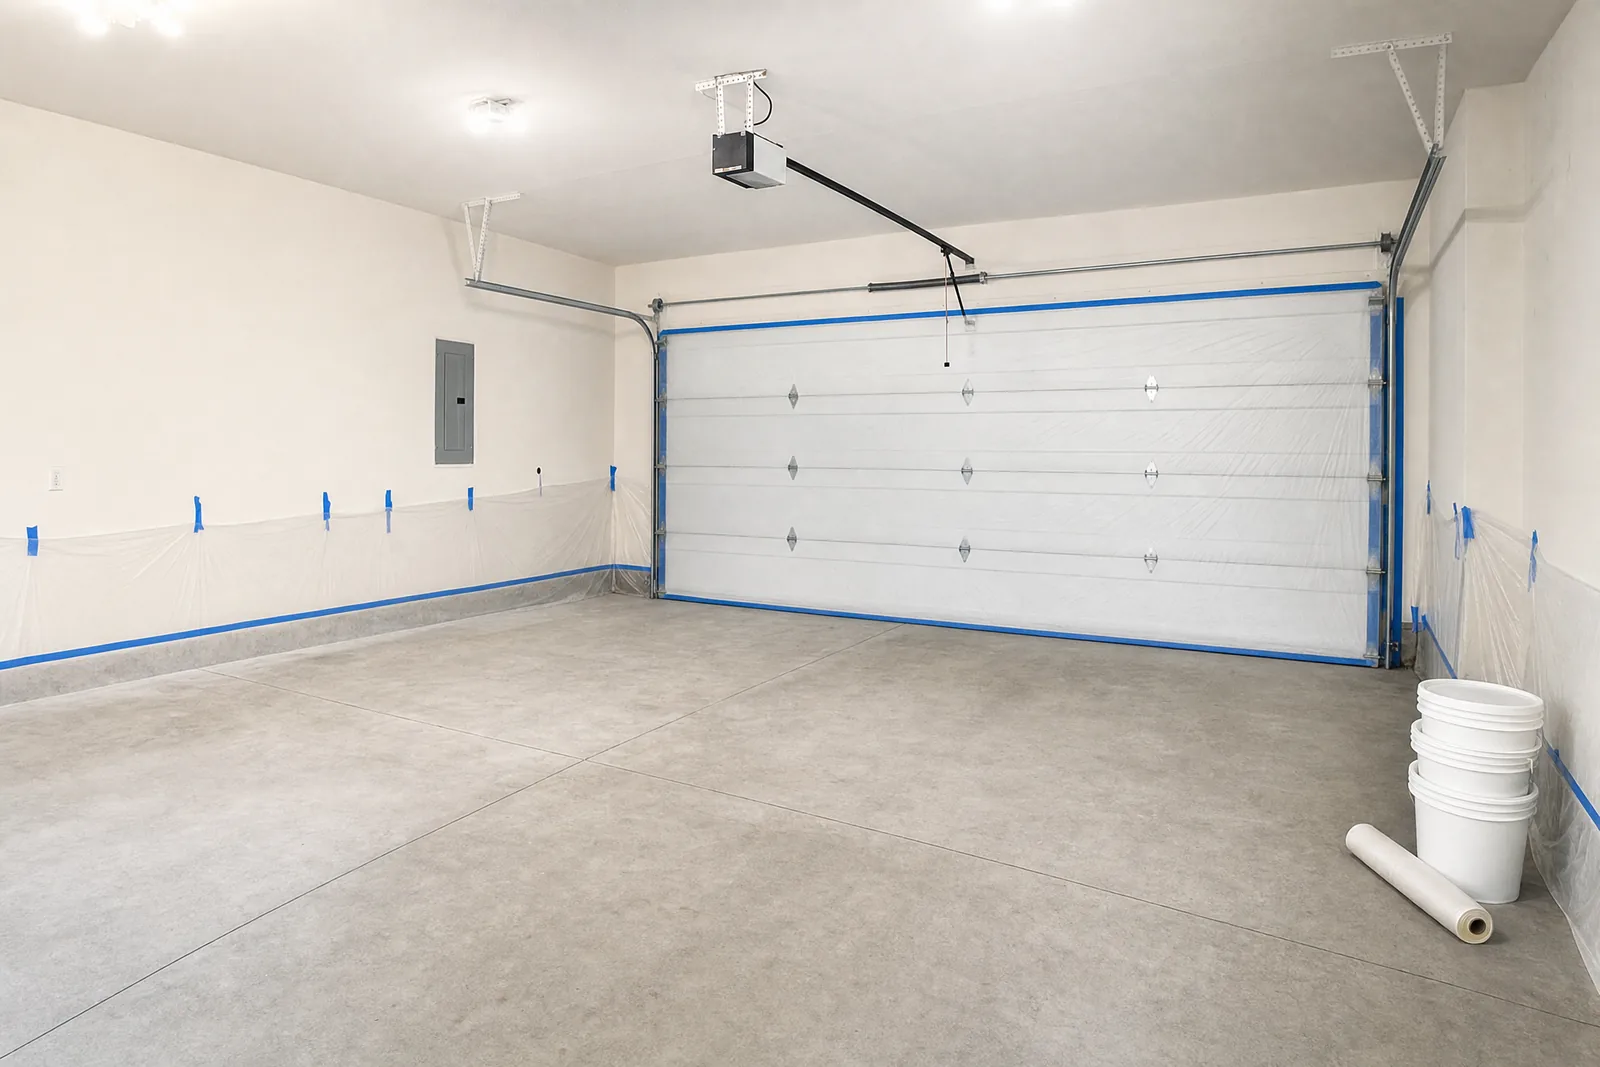
| Test area ground clean of coatings and sealers | Anything on the surface restricts emission and produces a falsely low reading |
| Space conditioned to service conditions 48 hours prior | Emission varies with temperature and ambient humidity; testing in unrepresentative conditions gives an unrepresentative number |
| Three tests for the first 1,000 sq ft, one per additional 1,000 | Moisture is not uniform. A single test can easily miss a wet zone |
| Full duration — 60 to 72 hours | Reading early understates emission substantially |
Comparing the two quantitative methods
Calcium chloride (ASTM F1869) measures how much moisture escapes the top layer over three days. It is the older method, cheaper, and widely used — but it only reads the surface. A slab that has been dry on top for weeks can test acceptable while still holding significant moisture at depth, which then migrates upward once you seal the surface.
Relative humidity probes (ASTM F2170) drill into the slab to 40% of its depth and measure equilibrium humidity there. This reads what the slab will do once it is sealed, which makes it the better predictor. It costs more and requires drilling. For any floor where failure would be expensive, it is the test worth paying for.
How mitigating primers work
A moisture-mitigating primer is a high-solids, low-permeability epoxy applied at a specified film thickness — usually 12 to 20 mils, considerably thicker than a standard primer. It does not stop vapour so much as tolerate it, holding bond under pressures that would lift a normal coating.
Two things determine whether it works: applying it at the specified thickness, and applying it over a properly profiled surface. It is not a product you can thin out to cover more area. When these fail, thin application is almost always why.
Common questions
How long does testing take?
The plastic sheet test needs 16 hours minimum. Calcium chloride needs a full 72 hours in controlled conditions. RH probes need 72 hours to equilibrate after drilling.
This is why we test at the assessment visit rather than on install day. It's also why any quote produced in a single walkthrough hasn't included real testing.
Is moisture testing really necessary?
Yes. The air here is dry, which misleads people, but what matters is the vapour gradient between the ground and your slab. Spring snowmelt moves a great deal of water through the ground, and a great many older Reno garages were poured with no vapour retarder beneath them.
The test costs very little relative to the job. Removing a blistered floor costs more than the original install.
What if my slab tests too wet?
Two paths. Below the ceiling for a mitigating primer, we prime and proceed normally — the primer adds cost but the floor is fine.
Above that ceiling, the honest answer is that the source needs fixing first: drainage, irrigation moved away from the slab, or in some cases below-grade waterproofing. We'd rather tell you that than take the job and hand you a warranty argument in two years.
Ready for a floor that survives a Sierra winter?
Free on-site measure, honest assessment of your slab, and a written quote you can hold us to.